![]()
![]()
")
")
")
")
")
So you had a great event? And obviously now you want to share your photos with your community! In this article we'll explain how you can have your articles on the frontpage slideshow, or you can create an individual gallery that you can then embed on your event page.
To be able to upload images, you'll have to be logged in to the site. If you don't have an account yet, you can create one.
To have your images shared on the front-page slideshow, you'll have to respect some limitations...
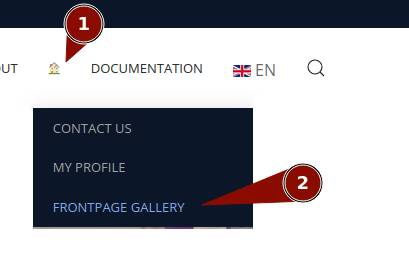
Here, you will need to create a category for your personal images.
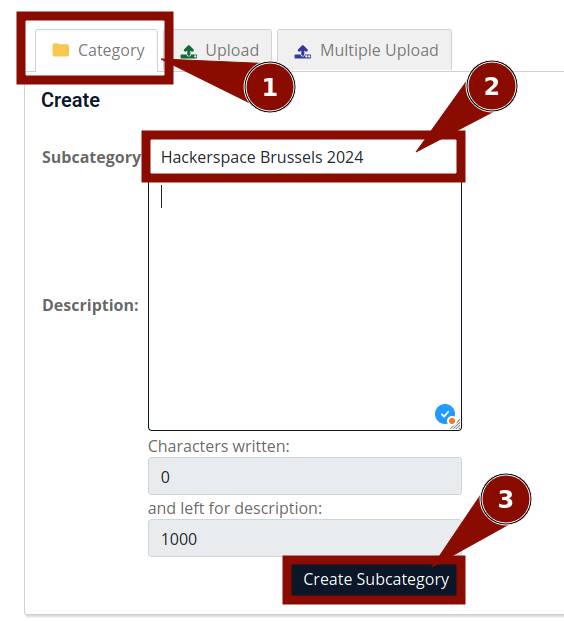
Once you have created this category, you'll be able to Upload images to the gallery
To have your images shared in a gallery on your team page, keep some sensible limitations in mind=
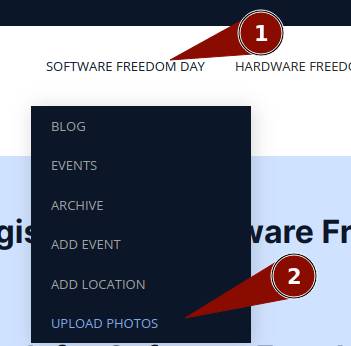
Here, you will need to create a category for your personal images.
Once you have created this category, you'll be able to Upload images to the gallery
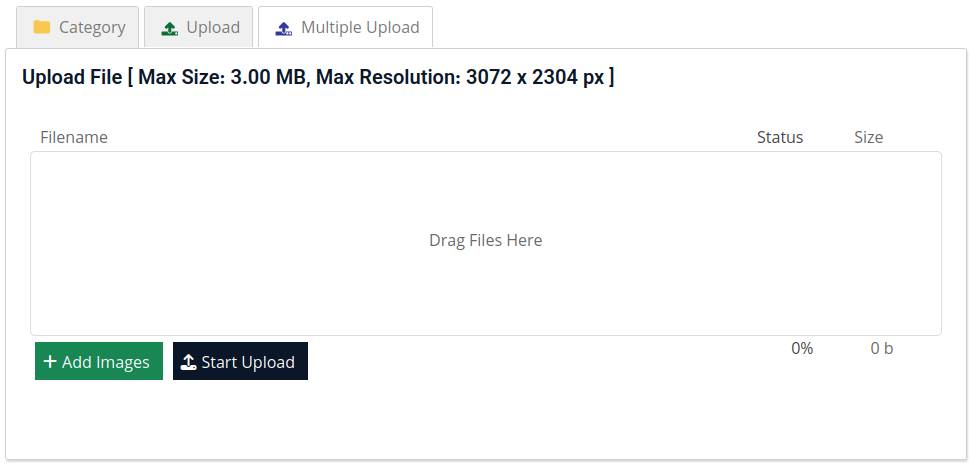
Using the "Upload" tab, you can submit one image at the time, and include a title and description. These will appear in the gallery (but not in the slideshow on the front page at this moment)
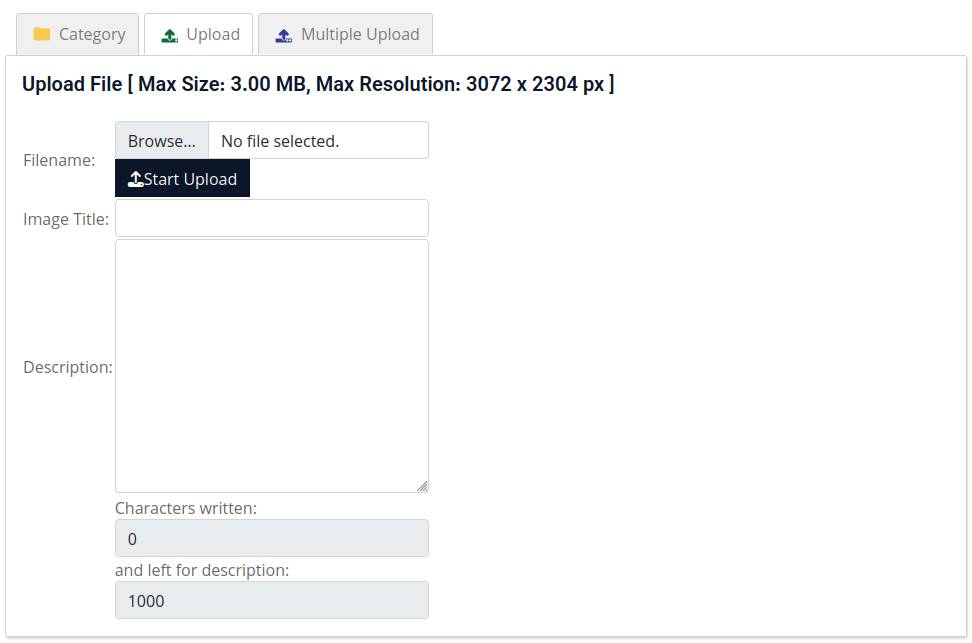
If you need to upload a big set of images, you can use the "Multiple Upload" tab. You can prepare this upload by giving the images filenames that will then function as Title. There will be no description.
You can drag images onto the interactive area, or click on the green button [+ Add images]. When all the images are queued up, click on the "Start Upload" button.
When you visit the page of your event (logged in with the account that created the event), you'll be able to "Edit Event":

In the editor, you'll find a Joomla icon with a dropdown arrow next to it. Click on this, and select "Phoca Gallery Image"
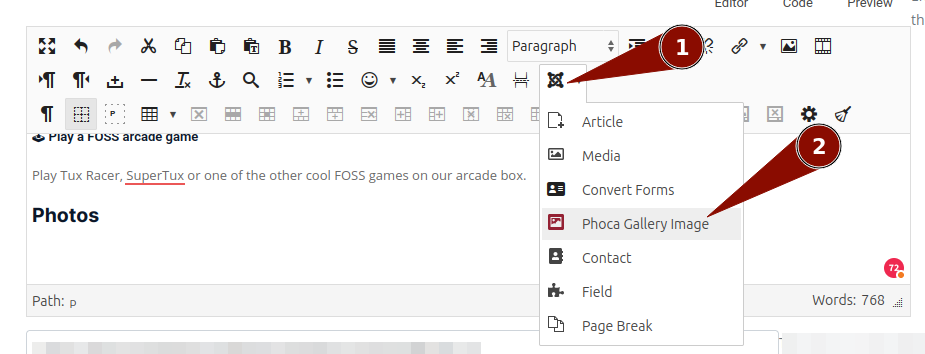
Select the Images or Masonry view and enter the settings. Don't forget to click on the "Insert Code" button:
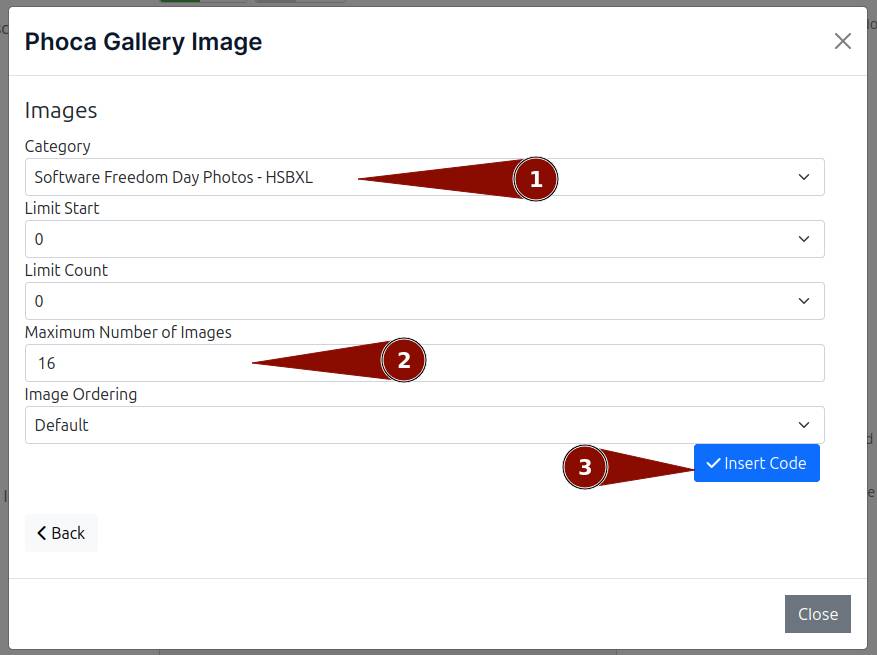
This will place a smartcode in your content. Something like this:
![]()
Note: for advanced features, have a look at the Phoca Gallery Plugin documentation.